Deploy Flojoy Cloud to AWS
Flojoy Cloud is the easiest way to supercharge your test & measurement data with powerful data visualizations, collaboration, and easy to use APIs for Python, LabVIEW, and MATLAB.
You can use our public Flojoy Cloud instance for your test and measurement data here: https://cloud.flojoy.ai
Additionally, you can deploy your own Flojoy Cloud instance with our public AWS AMI. In this tutorial we’ll show you how with few very straightforward steps - all you need is an AWS account.
Prerequisites
-
An AWS account.
-
Active AWS SES with domain (For sending verification emails).
-
An IAM role with proper SES policy. (We’ll describe this in next step)
-
Enabled Google Oauth2.0 API. See here
-
A valid domain (For SSL and HTTPS connection).
-
A PostgreSQL instance in AWS RDS (You can setup your own postgresql db as well)
Create IAM role
-
Log in to AWS account and Search for
IAM, then go toIAMdashboard. -
From left sidebar click on
Policies. -
Now click on
Create Policy. -
Now click on
JSONbutton from right top ofPolicy Editorsection. -
Paste following data to input box:
{ "Version": "2012-10-17", "Statement": [ { "Effect": "Allow", "Action": ["ses:SendEmail", "ses:SendRawEmail"], "Resource": "*" } ]}-
Provide a Policy name and click
Create Policy. -
Now click on
Rolesfrom left sidebar. -
Click on
Create Role. -
Select
AWS ServiceandEC2inuse casesection then clickNext. -
Now search for just created policy name and select it then again click
Next. -
Give a Role name and click on
Create Role
Done! we’ve created an IAM role for SES service which we can attach with our EC2 instance to allow cloud app to send verification emails.
Steps to deploy on AWS
-
First, Log into your AWS account. And head to EC2 dashboard. You can use search bar from top left corner for this. Just type
ec2and you’ll find the link for EC2 dashboard. -
From left side bar select AMIs. Then change AMI type from
owned by metopublic imagesfrom dropdown before AMI search bar.

- Now, in the AMI search input type for
Flojoy-Cloud-AMIand you’ll find our public AMI for cloud app. Select it then click onLaunch instances from AMI.

-
In the next page, provide a name to your instance. In
instance typesection select at leastt3.xlarge( 4vCPU and 16GiB ram) to allow app run smooth and fast. -
In the next section select a key pair for SSH purpose. After that in
Networksection selectAllow HTTP traffic from the internet,Allow HTTPS traffic from the internetandAllow SSH traffic fromoption.

- Scroll down and click on
Advanced detailsto expand that section.
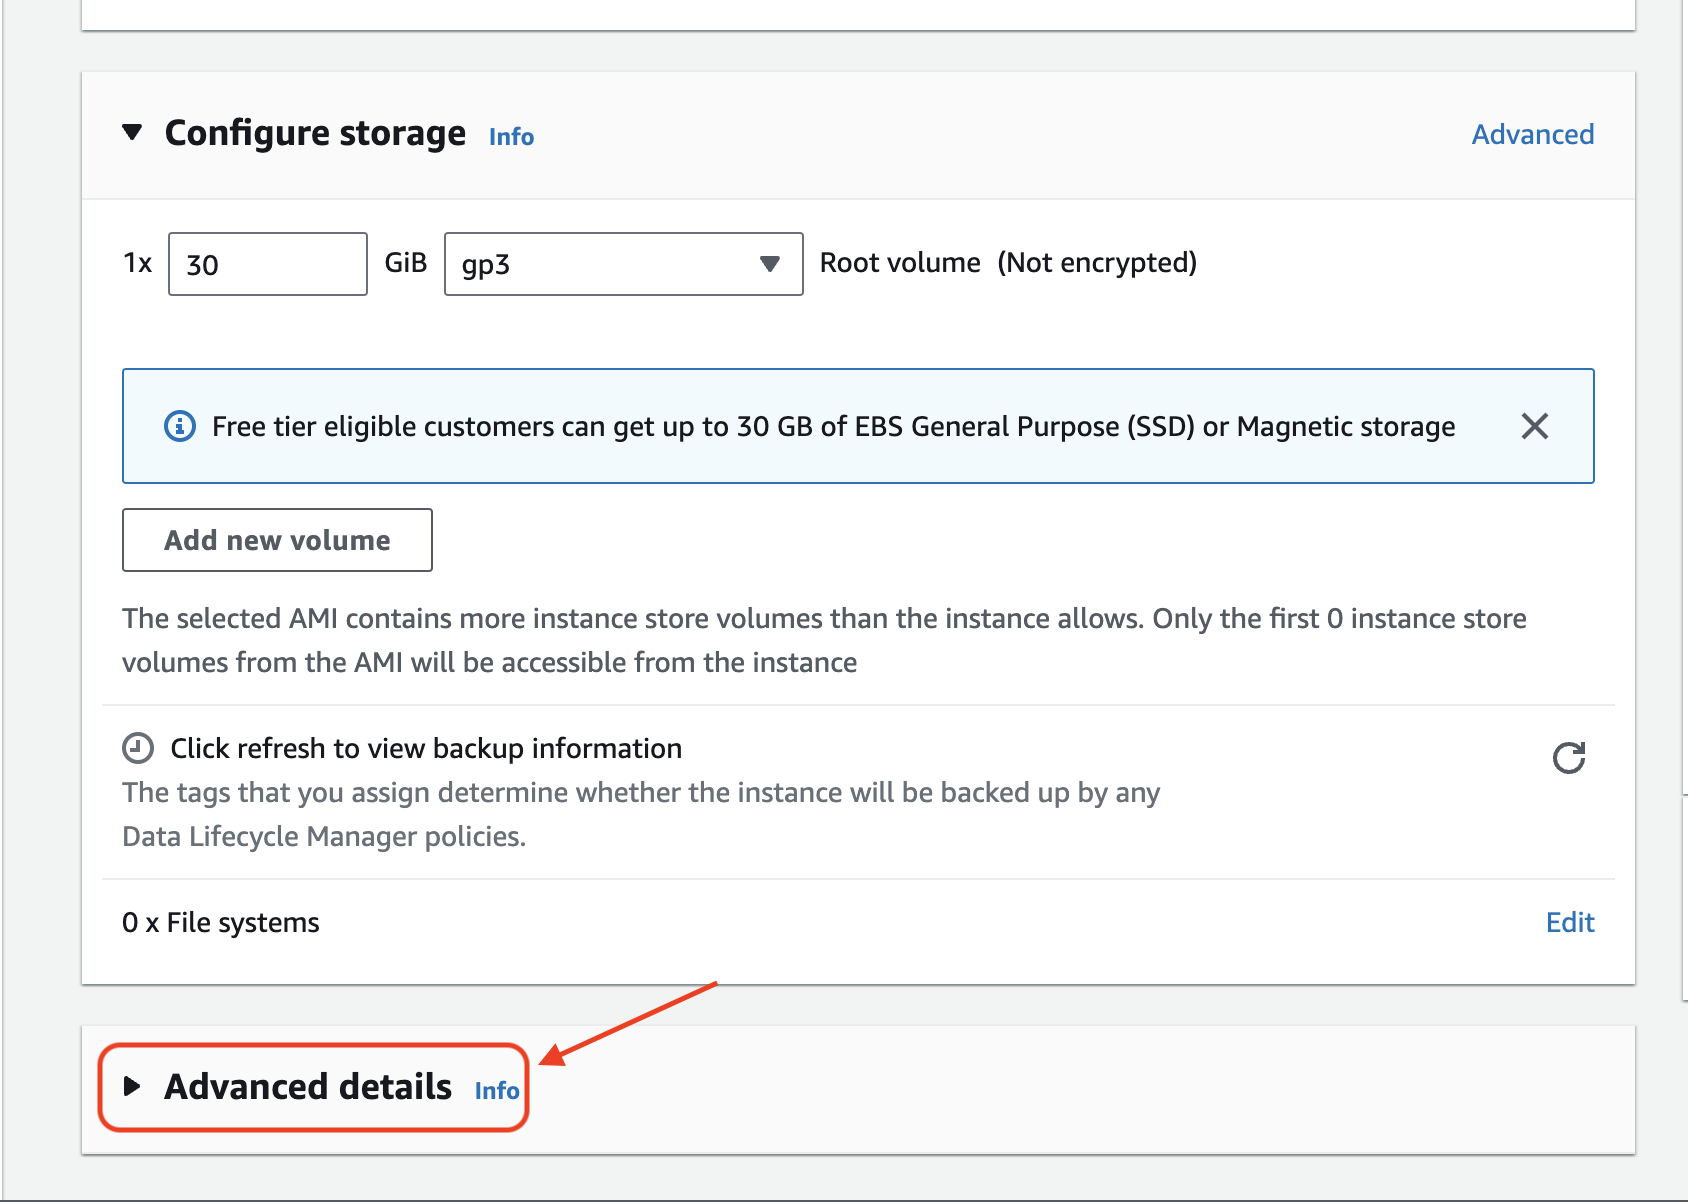
-
Select the IAM role just created with custom SES policy in
IAM instance profileoption. -
Then head to
user datainput at the bottom ofAdvanced detailssection and paste following bash script with valid domain name.
#!/bin/bash
cloud_domain="your-domain.com" # Domain name to use for cloud e.g. cloud.flojoy.ai
cat <<EOF >/etc/nginx/conf.d/default.confserver {listen 80;
server_name ${cloud_domain};
location / {    proxy_pass http://localhost:3000;    proxy_http_version 1.1;    proxy_set_header Upgrade \$http_upgrade ;    proxy_set_header Connection 'upgrade';    proxy_set_header Host \$host;    proxy_cache_bypass \$http_upgrade;    }}EOF
-
Almost there! now click on
launch instancebutton. -
We’re done with launching instance from Flojoy Cloud AMI. Now we’re only two steps away from getting our app ready.
Setup Credentials
Credentials are required for cloud app to run. So we need to setup our own credentials. Let’s do that in real quick with a few steps:
-
Go to EC2 dashboard from left sidebar. Then click on just launched instance and copy public ip.
-
Now connect to your EC2 instance with key-pair previously selected during configuring instance. Run following command to connect:
ssh -i <path/to/key.pem> ubuntu@<public-ip>- Enable
rootmode:
sudo su- Now open
/root/cloud/.envfile with your preferable editornanoorvimand paste following template with valid credentials:
JWT_SECRET=""                           # JWT secret for authenticationAWS_REGION=""                           # AWS regionSENDER_EMAIL=""                         # Email registered for AWS SESGOOGLE_CLIENT_ID=""                     # Google auth client idGOOGLE_CLIENT_SECRET=""                 # Google client secretDATABASE_URL=""                         # Postgresql DB connection URL
GOOGLE_REDIRECT_URI="https://<cloud-domain>/login/google/callback"NEXT_PUBLIC_URL_ORIGIN="https://<cloud-domain>"- Restart Cloud app service:
systemctl restart cloud_appThis will build the app with new credentials and start the app.
Enable HTTPS
We have deployed our own version of Flojoy cloud app. Now to allow app work properly we need to configure SSL on launched EC2 instance. Let’s do that:
- Go to you domain provider website and add an ‘A’ record in your domain with the public ip of just launched EC2 instance.
- Now connect to your EC2 instance with key-pair previously selected during configuring instance. Run following command to connect:
ssh -i <path/to/key.pem> ubuntu@<public-ip>- Enable
rootmode:
sudo su- Install
Certbot:
sudo apt update sudo snap install --classic certbot- Prepare
Certbot:
sudo ln -s /snap/bin/certbot /usr/bin/certbot- Get and install SSL certificate:
sudo certbot --nginx -d <your-domain-name>And follow on screen instruction. This will get and install SSL certificate.
- Restart Nginx:
systemctl restart nginxNow visit https://your-domain.com and you should able to see Flojoy cloud app.
Having issues with deployment? Join our Discord Community and we will help you out!